OBJECTIVE:
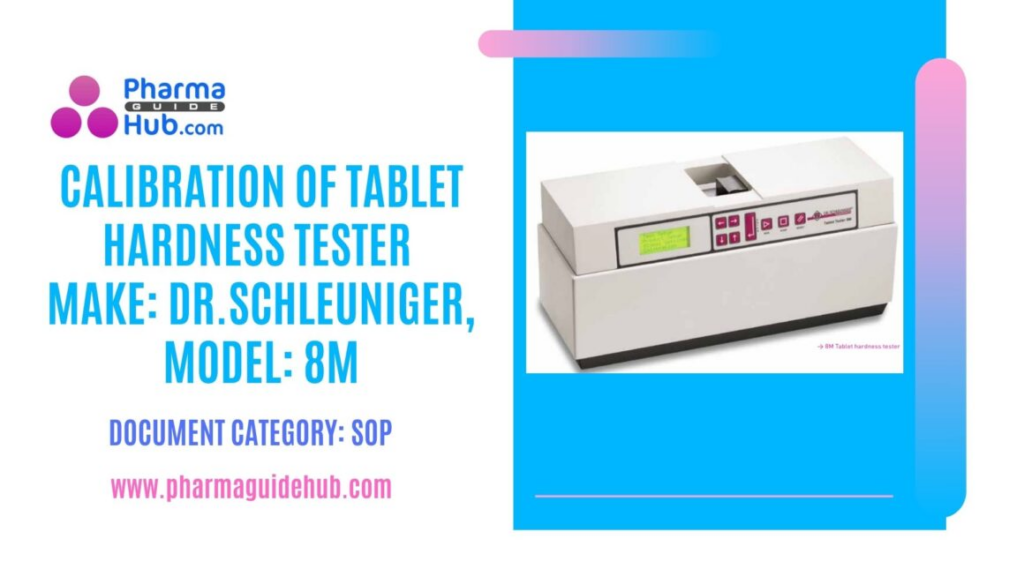
To lay down a procedure for Calibration of Tablet Hardness Tester (MAKE: DR.SCHLEUNIGER, MODEL: 8M).
SCOPE:
This SOP is applicable to the procedure for Calibration of Tablet Hardness Tester (MAKE: DR.SCHLEUNIGER, MODEL: 8M) at {Company Name} {Location}.
RESPONSIBILITY:
Officer/Executive/Designee: shall be responsible for following the procedure as per SOP.
Engineering Head/designee is responsible for compliance of SOP.
ACCOUNTABILITY:
QA Head shall be Accountable for implementation of SOP.
PROCEDURE:
About Instrument:
The DR. SCHLEUNIGER 8M Tablet Hardness Tester is a versatile instrument used in the pharmaceutical industry to measure the hardness and diameter of various tablet shapes. It’s a popular choice due to its accuracy, reliability, and compliance with industry standards
Key features:
Data export: RS232 ports for connecting to external devices like balances, thickness gauges, printers, and computers.
Accurate hardness measurement: Uses a strain gauge S beam load cell for consistent results.
Multi-purpose: Can measure hardness, diameter, weight, and thickness.
FastTestTM configuration: Enables quick testing of large sample sizes.
Calibration Procedure:
Ensure the Tablet Hardness Tester, which is to be calibrated is in cleaned condition.
Ensure the Standard weight (5 Kg) and Gauge block (10 mm) are cleaned condition and Calibration due is within the validity period.
Calibration frequency shall be followed for Standard instruments as per the “Master Calibration Schedule for Standard Instruments”.
Ensure that the printer is connected to the Tablet Hardness Tester and it is on line with paper.
Switch on the Tablet Hardness Tester by turning the OFF/ON switch to ON mode at rear side of the equipment.
Display Shows:
- Test Setup
- Product Setup
- Global Settings
- Calibration
Calibration Press ↓ Key to scroll down to see
- Verification
- Security
Use ↑ or ↓ keys to select the “Calibration” mode and press → key.
Display Shows
- Weight
- Thickness
- Diameter
- Hardness
Select the parameter to be calibrated by using ↑or ↓ keys.
Diameter Calibration:
Operate the instrument and select “Diameter” and press → key.
Display shows
- Calibrate
- Print Last
- Accept .Range
Select “Calibrate” and press → key.
- Display shows.
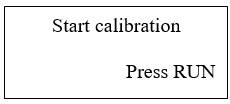
Press RUN key and observes the display as.
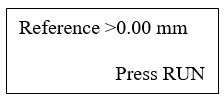
Presses RUN key and observe the accessory jaw is moving towards to pressing jaw.
After touching the accessory jaw to the pressing jaw, accessory jaw will come to its home position. Display Shows.
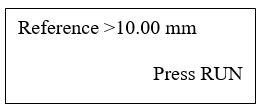
Put the calibrated 10.00 mm block on pressing jaw in horizontal position, and press RUN.
Observe the accessory jaw movement, it touches the 10.00 mm block and comes to the home position.
Remove the 10.00 mm block which is on the pressing jaw observe the display

Press “STOP” and observe the display
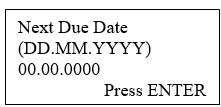
Press Enter and observe the display as

Diameter Verification:
Operate the Instrument as per the above procedure of Diameter Calibration, but select “Verification” and continued the procedure
Hardness Calibration
Press ← Display shows
Select “Hardness” and press → key. Display shows
- Weight
- Thickness
- Diameter
- Hardness
Observe the display as
- Calibrate
- Print Last
- Accept .Range
Select “Calibrate” by using ↑or ↓ keys and press → key.
Display shows

Press RUN key and observes the display as
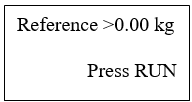
Press RUN key and observes the display as
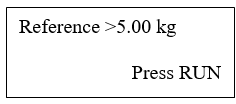
Remove the “pressing Jaw” and fix the calibration arm and place a Fibre glass on surface Floor (as shown in below figure) and tilt the Tablet Hardness Tester in to vertical position.
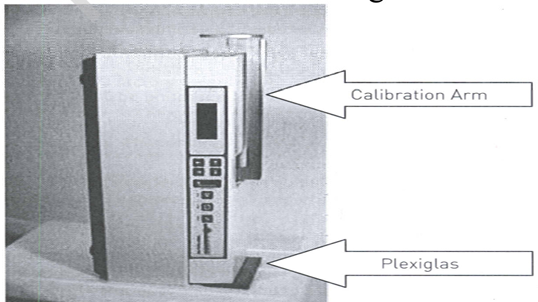
Place the 5 kg calibrated weight on the calibration arm and press RUN

Press STOP and observe the display as
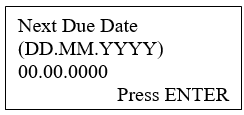
Press Enter and observe the display as

Hardness Verification:
Operate the Instrument as per the above procedure of Hardness calibration, but select “Verification” in above red highlighted procedure, continued the procedure of Hardness Calibration highlighted in green
- Calibrate
- Print Last
- Accept .Range
Use ↑ or ↓ keys to select the “Print Last” mode and press →
Observe the display as

Remove the weight from the calibration arm and keep the Tablet Hardness Tester in
usable condition.
Take the Calibration and Verification printouts from the printer and check for the compliance as per the acceptance criterion and sign off.
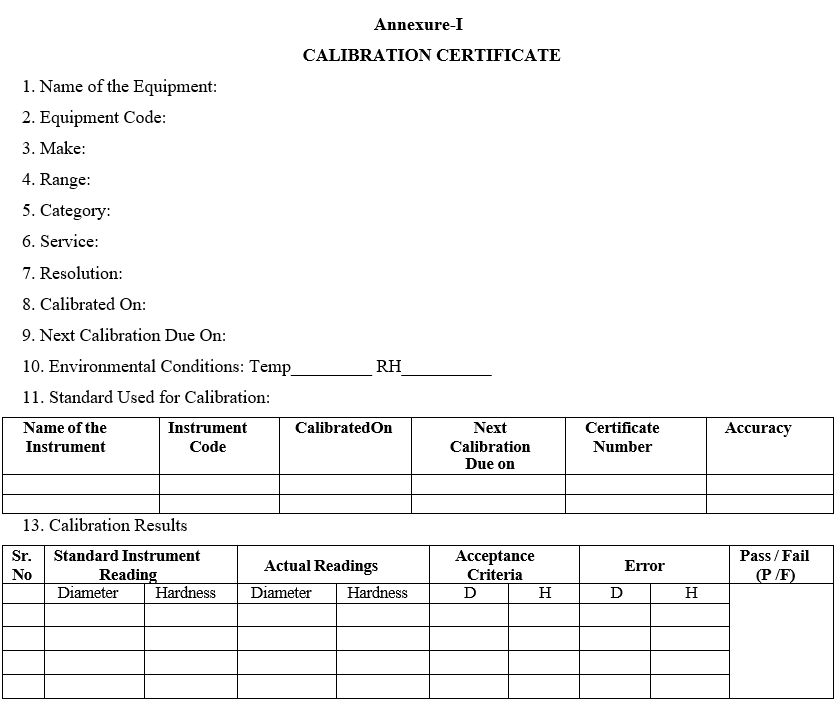
Calibration results shall be enter into the format-1, Based on the calibration printout and signed off.
Acceptance criteria for Tablet Hardness Tester are ± 0.20 mm (Diameter), ± 0.40 Kg (Hardness).
The Tablet Hardness Tester should be calibrated as per master calibration schedule. The grace period is followed as per the SOP.
REFERENCES:
Not Applicable
ANNEXURES:
| ANNEXURE NO. | TITLE OF ANNEXURE |
| Annexure-I | Calibration Certificate |
DISTRIBUTION:
Master Copy : Quality Assurance Department
Controlled Copy No. 01 : Head Quality Assurance
Controlled Copy No. 02 : Head Engineering
ABBREVIATIONS:
| No. | : | Number |
| DP | : | Differential pressure |
| SOP | : | Standard Operating Procedure |
REVISION HISTORY:
CHANGE HISTORY LOG
| Revision No. | Details of Changes | Reason for Change | Effective Date |
| 00 | New SOP | Not Applicable | To Be Written Manual |
Annexure-I
CALIBRATION CERTIFICATE
