- PROCEDURE FOR THE CALIBRATION OF 8 M HARDNESS TESTERS:
- Model: 8 M HARDNESS TESTERS (DR. SCHLEUNIGER)
- Ensure that the printer is connected to the Tablet Hardness Tester and it is on line with paper.
- Switch on the Tablet Hardness Tester by turning the OFF/ON switch to ON mode at rear side of the equipment.
- Display Shows
- Test Set up
- Product Setup
- Global Settings
- Calibration
- Press ↓ Key to scroll down to see
- Verification
- Security
- Use ↑ or ↓ keys to select the “Calibration” mode and press →
- Display Shows
- Weight
- Thickness
- Diameter
- Hardness
- Select the parameter to be calibrated by using ↑or ↓ keys.
- Diameter CalibrationOperate the instrument as per above steps and select “Diameter” and press → key. Display shows
- Calibrate
- Print Last
- Accept
- Range
- Select “Calibrate” and press → key Display shows.
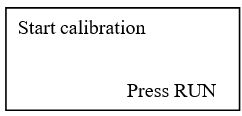
- Press RUN key and observes the display as
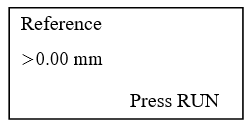
- Presses RUN key and observe the accessory jaw is moving towards to pressing jaw
- After touching the accessory jay to the pressing jay, accessory jaw will come to its home position. Display Shows
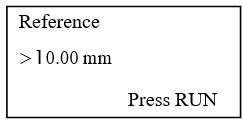
- Put the calibrated 10.00 mm block on pressing jaw in vertical position, and press RUN.
- Observe the accessory jaw movement, it touches the 10.00 block and comes to the home Position.
- Remove the 10.00 mm block which is on the pressing jaw observe the display
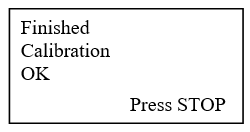
- Press “STOP” and observe the display
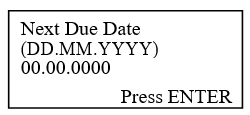
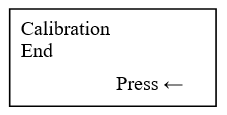
- Press Enter and observe the display as
- Hardness Calibration
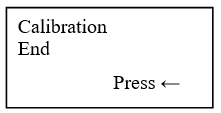
- Press ← Display shows
- Select “Hardness” and press → key
- Display shows
- Weight
- Thickness
- Diameter
- Hardness
- Observe the display as
- Calibrate
- Print Last
- Accept. Range
- Select “Calibrate” by using ↑or ↓ keys and press → key. Display shows
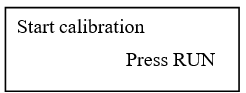
- Press RUN key and observes the display as
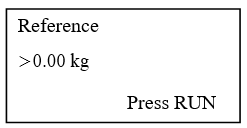
- Press RUN key and observes the display as
- Remove the “pressing Jaw” and fix the calibration arm and place a Plexi glass to Tilt the Tablet Hardness Tester in to vertical position.
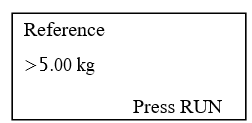
- Place the 5 kg calibrated weight on the calibration arm and press RUN.
- Display shows
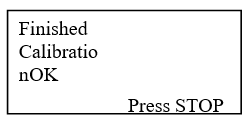
- Press STOP and observe the display as
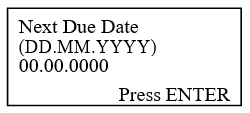
- Press ENTER and observe the display for
- Press Enter and observe the display as
- Press ← and observe the display as
- Calibrate
- Print Last
- Accept .Range
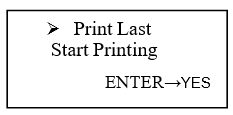
- Use ↑ or ↓ keys to select the “Print Last” mode and press → Observe the display as
- Remove the weight from the calibration arm and keep the Tablet Hardness Tester in usable Condition.
- Take the printout from the printer and check for the compliance as per the acceptance criterion and sign off.
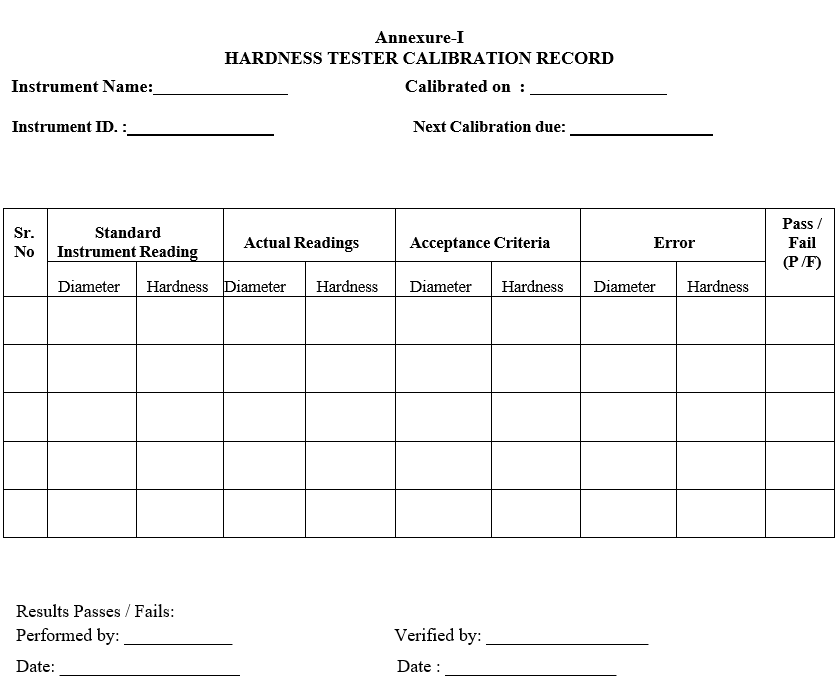
- Fill the calibration certificate as per Format-I based on the print out and signed off.
- Acceptance criteria: The acceptance criteria for Tablet Hardness Tester are ± 0.20 mm (Diameter), ± 0.40 Kg (Hardness).
- Frequency of calibration: The Tablet Hardness Tester should be calibrated for every 6 months.
- ANNEXURES:
| ANNEXURE NO. | TITLE OF ANNEXURE |
| Annexure-I | Hardness Tester Calibration Record |
Annexure-I
HARDNESS TESTER CALIBRATION RECORD