- PROCEDURE FOR THE OPERATION OF 8M HARDNESTESTER:
- MAKE: DR. SCHLEUNIGER
- Instructions for the usage of Front Plate Operation:
- Use the left arrow key to move a higher level of the menu structure, move the cursor to the left or exit the statistics function during a test.
- Use the right arrow key to move a lower level of the menu structure, move the cursor to the right or enter the statistics function during a test.
- Use the up arrow used to move to a different option of the current menu structure level, to increment the character that is indicated by the position of the cursor.
- Use the down arrow key to move to a different option of the current menu structure level or to decrement the character that is indicated by the position of the cursor.
- Use the Enter button to save the value or text that is currently displayed.
- Use the Run button either to begin or continue a test.
- Use the stop button to temporarily interrupt a test.
- Press the Stop button at any time and the 8M will stop after the current measurement is taken. To restart the test, press the Run button or end the test prematurely by pressing the Reset button.
- Press the stop button (before pressing the Enter key) to cancel any changes that have been made to an editable field. The original information in the field will not change.
- Use the Reset button to interrupt a test. When the 8M is reset, the statistical data is stored, the software returns to the top of the menu structure and the jaw is retracted to the home position. (Press the stop button and the right arrow to view the statistics.)
- WARNING: Do not use a pen, pencil, screwdriver or any other sharp object to activate the buttons on the front plate as they will damage the membrane switch.
- OPERATION:
- FOR CHECKING HARDNESS:
- Check the cleanliness of the machine and area.
- Turn the 8M hardness tester “ON”.
- Check for the proper functioning of the machine.
NOTE: In case of any machine problem, stop the machine and inform the engineering department by raising work order. Do not start the operation until the problem is rectified.
- Turn on the printer and set the paper to the top of the page.
- Set the number of required samples to be tested.
- Set the number valid weight, thickness and diameter measurement to 0.
- Place a tablet in the jaw.
- NOTE: Ensure that the 8M is in the manual mode.
- Press the “Run” button on the front plate.
- The 8M display will indicate that the tester is in manual mode, both the date and time the test was started.
- Press again the “Run” on the front plate. The slide will move forward at full speed.
- Then the slide contacts the tablet, it will retract the Back off to the resting position and stop.
- Press the “Run” button to break the first sample.
- Clean out the jaw with dusting brush and place another sample in the jaw.
- The 8M display will indicate that 1 hardness sample has been recorded and the hardness reading for the sample is displayed.
- Press the “Run” button to break the second sample.
- Repeat the above eight steps until the required samples will complete.
- Press the “Stop” button after completing all the samples.
- Press the right arrow on front plate.
- The mean value of all the tested samples will be displayed.
- Use the Up and Down arrow keys to view the additional test information.
- To return to the original display, press the left arrow key and/or press Run button.
- FOR CHECKING THICKNESS
- Turn the 8M hardness tester “ON”.
- Turn on the printer and set the paper to the top of the page.
- Set the valid thickness measurements to 10.
- Set the number of valid weight, diameter and hardness measurements to 0.
- Place a tablet in the jaw.
- NOTE: Ensure that the 8M is in the Automatic mode Automatic settings, under global settings, defaults set the thickness option to internal.
- Press the “Run” button on the front plate.
- The 8M display will indicate that the tester is in automatic mode, both the date and time the test was started.
- Press again the “Run” button on the front plate.
- The slide will move forward at full speed.
- When the slide contacts the tablet, it will retract the back off distance.
- The slide will move forward automatically to measure the thickness of the first sample.
- The slide will retract to back off distance.
- Remove the sample and place another sample in the jaw.
- The 8M display indicates that 1 thickness sample has been recorded and the thickness reading for the sample is displayed.
- The machine will move forward, repeat the process and test the second sample. After completing measuring thickness of all samples, Press stop button.
- Press the right arrow on the front plate.
- The mean value of all the tested samples will be displayed.
- Use the Up and Down arrow keys to view the additional test information.
- To return to the original display, press the left arrow and/or press the “Run” button as required completing the test.
- FOR CHECKING THICKNESS AND HARDNESS:
- Turn the 8M hardness tester “ON”.
- Turn on the printer and set the paper to the top of the page.
- Set the required number of samples to be tested for thickness and hardness and set the valid weight and diameter measurement to 0.
- Press “Global setting”, under global settings, defaults change the thickness gauge to external.
- NOTE: Ensure that the 8M is in the Automatic mode.
- Press the “Run” button on the front plate.
- The 8M display will indicate that the tester is in automatic mode, both the date and time the test was started.
- Take 6 weight and thickness samples. Press the “Run” button on the front plate. Test 5 hardness samples.
- Press the “Stop” button. Press the right arrow on the front plate.
- The mean value of all the tested samples will be displayed.
- Use the Up and Down arrow keys to view the additional test information.
- To return to the original display, press the left arrow key and continue the weight and thickness tests before pressing the “Run” button to complete the hardness test.
- ENDING A TEST:
- If the count has reached the number of measurements, for all parameters, and the report (if applicable) has been printed, press Reset.
- This returns the slide to the home position.
- Press “Stop” to view the statistics that were obtained before the test ended.
- To stop the test temporarily before the number of valid measurements has been obtained, press Stop.
- To continue the test press Run or press reset to terminate the test without a printer. Press Reset at any time to terminate a test, however no data will be printed.
- Press Stop to view the statistics that were obtained before the test was terminated. Enter the details in logbook as per Format-I.
- ANNEXURES:
| ANNEXURE NO. | TITLE OF ANNEXURE |
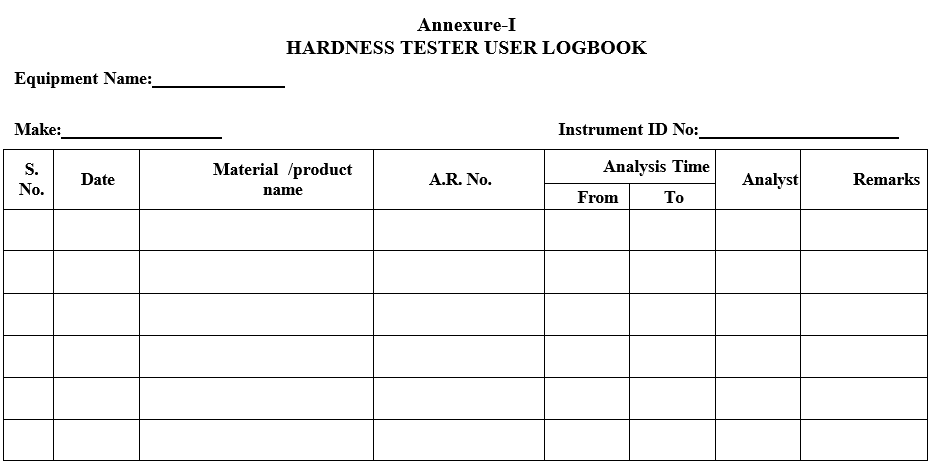
| Annexure-I | Hardness Tester user logbook |
Annexure-I
HARDNESS TESTER USER LOGBOOK