
- OBJECTIVE:
To lay down the procedure for operation of analytical sieve shaker.
- SCOPE:
This SOP is applicable for the procedure for operation of analytical sieve shaker at {Company Name} {Location}.
- RESPONSIBILITY:
- Officer/Executive/Designee Quality Control – Shall be responsible to operate the equipment as per SOP.
- Head/Designee Quality Control – Shall be responsible for ensuring compliance as per SOP.
- ACCOUNTABILITY:
QA Head shall be Accountable for implementation of SOP.
- PROCEDURE:
- Ensure that the area is clean.
- Arrange the sieves in the shaker in decreasing order of mesh No., increasing order of particle size.
- Example: Arrangement of mesh No.:100, 80, 60, 40, 20.Weigh 25.0 g of the sample or weigh specified quantity given in the individual monograph.
- Place the sample in the upper mesh and then fix the screws tightly.
- Turn the main switch on., The interval on/off LED glows.
- Now the instrument is ready for operation, without internal function, in continuous mode.
- Set the time by pressing the timer key, 10 minutes or specified time given in the monograph.
- Intermittent-Continuous operation procedure:
- Intermittent operation is initially disabled, when the instrument is first switched on.
- Press the left side button of interval on/off to enable the intermittent mode.
- Press the right-side button of interval on/off to disable the intermittent mode.
- Press the START key to start the test.
- Ensure that vibration setting knob is in 0 positions before staring the analysis.
- Set vibration height (amplitude) by gradually increasing the vibration-setting knob.
- Height will be observed on block screen provided on the base platform from 0 to require vibration height by visually checking the intersection of the two lines, which shows the vibration height (amplitude).
- The vibration height can be set from 1.0 to 3.0 mm, usually it is kept at 1.5 mm.
- Interruption procedure:
- Press the STOP button once.
- The red LED above STOP button glows.
- Sieving is suspended: values remain visible in the display.
- Press the START button.
- The sieving process will be resumed
- Stop procedure:
- Press the STOP button twice.
- Red LED above STOP button glows.
- The entire display goes out.
- Activate the LED display by pressing the START button.
- New values can be entered.
- Press the START button a second time to start the test.
- After completion of the test, remove the sample from each sieve carefully and weigh respectively.
- Calculate the percentage of retained material in each sieve respectively using the following:

- After completion of the test, clean the sieves with a brush neatly.
- Enter the details of usage in the logbook as per format-I.
Click the link to download word file copy of this document:
https://pharmaguidehub.com/product/operation-of-analytical-sieve-shaker/
- REFERENCES:
Not Applicable
- ANNEXURES:
| ANNEXURE NO. | TITLE OF ANNEXURE |
| Annexure-I | Analytical sieve shaker instrument user logbook |
ENCLOSURES: SOP Training Record.
- DISTRIBUTION:
- Controlled Copy No. 01 : Head Quality Assurance
- Controlled Copy No. 02 : Head Quality Control
- Master Copy : Quality Assurance Department
- ABBREVIATIONS:
| No. | : | Number |
| SOP | : | Standard Operating Procedure |
| QC | : | Quality Control |
- REVISION HISTORY:
CHANGE HISTORY LOG
| Revision No. | Details of Changes | Reason for Change | Effective Date |
| 00 | New SOP | Not Applicable | To Be Written Manual |
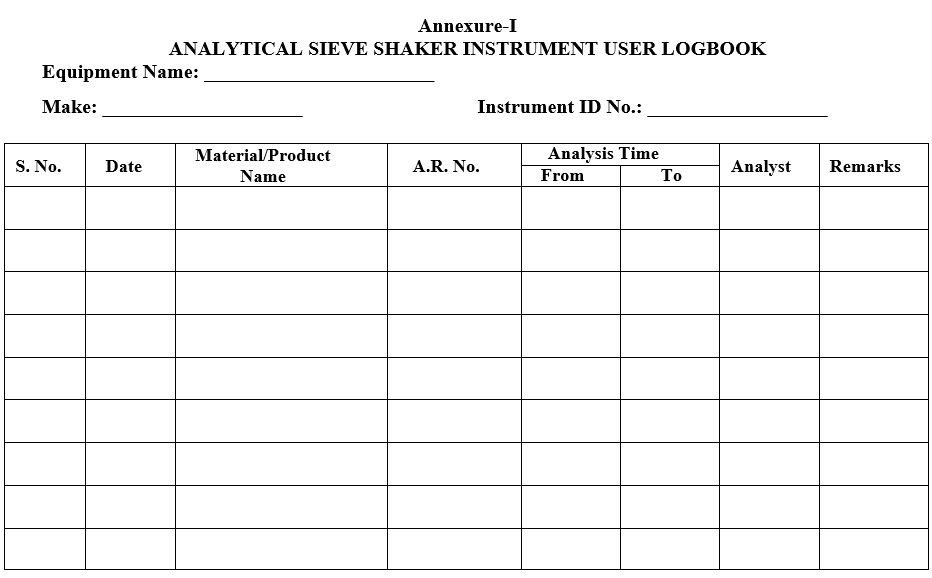
Annexure-I
ANALYTICAL SIEVE SHAKER INSTRUMENT USER LOGBOOK
Frequently Asked Question ?
1. What should the area be like before using the sieve shaker?
Answer: The area should be clean to avoid contamination of the sample.
2. How do you arrange the sieves in the shaker?
Answer: Arrange them in decreasing order of mesh number, meaning the sieve with the smallest openings goes on top, followed by progressively larger ones. This allows smaller particles to pass through the upper sieves and be retained on the ones below.
3. How much sample should be used for the test?
Answer: Typically, 25.0 grams is recommended, but some monographs may specify a different amount. Follow the specific instructions for your test.
4. How do you start the sieve shaker?
Answer: 1. Turn on the main switch. 2. Set the timer for the desired duration (usually 10 minutes, but again, check the monograph). 3. Choose between continuous or intermittent operation mode. 4. Press Start.
5. How do you adjust the vibration settings?
Answer: Ensure the vibration knob is at 0 before starting. Gradually increase the knob until the desired vibration height (usually 1.5 mm) is displayed on the screen.
6. How do you interrupt or stop the sieving process?
Answer: Press Stop once to pause and resume later. Press Stop twice to completely stop and reset the display.
7. What do you do after the test is finished?
Answer: Carefully remove the sample from each sieve and weigh them individually. Calculate the percentage of material retained on each sieve using the provided formula. Clean the sieves with a brush and record the test details in the logbook.
8. What are some important safety precautions to remember?
Answer: Always follow the manufacturer’s instructions for safe operation. Wear appropriate PPE when handling samples and cleaning solutions. Ensure the area is well-ventilated and dispose of waste according to established protocols.
Click the link to download word file copy of this document:
https://pharmaguidehub.com/product/operation-of-analytical-sieve-shaker/