
- PROCEDURE:
- Operating Instructions:
- Switch ‘ON” the power, instrument will initialize.
- Switch ON the sampler, pump, main chamber and controller unit.
- Switch on the heater which is right side of water chamber.
- Press the RPM, TEMP, TIME, and OPTN keys from the front panel to set the Parameters of the test.
- Change protocol no. using Increment / Decrement keys. Press the ENTER key to register the set parameter in the protocol, such 20 protocols can be prepared. RPM settings:
- Press the RPM key from the front panel. Set the RPM from 25 to 200 using the UP / DOWN / DIGIT SCROLL key as per requirement.
- To start or stop the stirrer use F1 or F2 keys respectively.
- Temperature settings:
- Press the TEMP key from the front panel. Set the temperature from30.0ºC to 40.0ºC by using UP / DOWN / DIGIT SCROLL key.
- Switch heater ON/OFF BY using the function key F1/F2 Press ENTER key to register the change.
- Sample Interval settings:
- Press the TIME key from the front panel to display the screen for setting the Sample Interval Time.
- Maximum 12 Samples Interval and the Sample Time can be set from 00 Min to 23 Hrs, 59 Min Set using UP / DOWN / DIGIT SCROLL key. Press the ENTER Key to register the value.
- Parameter setting from OPTN key:
- Set Bath Set Up, Sampler Set Up, Sampler Calibration, Print Set Up, Clock, Date, Wakeup Time, Circulating Pump, Temperature Control, and Power Fail delay, Cleaning Cycle etc. by using the OPTN key from the front panel.
- Use Function key F1 (for NEXT) and F2 (for PREVIOUS) to scroll the Parameters
- Press enter key to change the selected parameter
- Enter changes press enter key to register the changes made
- Use UP / DOWN keys and DIGIT SCROLL key to choose the test method as Paddle or Basket. Select method by using the UP / DOWN key. Press ENTER key to register the settings.
- Press the scroll key to enable to select the filters to be immersed or remain Outside the media pressing the ENTER key will register and OPTN screen will be displayed again. Use scroll UP or DOWN through the options using the Function Keys F1 or F2 respectively.
- Circulating pump setting:
- Press the F1 key to select the option for the Circulating Pump setting
- Press the ENTER key to display the screen for the Circulating Pump setting
- The pump can be set ON / OFF using the function key F1 or F2 respectively
- Press the ENTER key to register the value and the OPTN screen will be displayed again
- Scroll UP or DOWN through the options using the function keys F1 or F2 respectively
- Set the test parameters as required Insert the paddle / Basket rod
Click the link to download word file copy of this document:
https://pharmaguidehub.com/product/operation-of-dissolution-test-apparatus-make-electro-lab-model-tdt-08l/
- Procedure for USP apparatus I method(basket):
- Check that the set temperature is reached.
- Place the test sample inside the basket and then insert the basket rod and lower the instrument by pressing Lift DOWN key provided on the Front Panel of TDT-08L
- Hold the baskets at the ring of the open end and gently secure the basket is fully Inserted on the basket holder.
- Make sure that the basket is fully inserted on the basket holder.
- Procedure for USP apparatus II method (paddle):
- Insert the Paddle as per numbering serial on the shafts.
- Lower the by pressing Lift DOWN key provided on the Front panel
- Drop the test Sample in test vessel after reaching set temperature.
- Press the START key from the front panel to start the test after reaching set temperature. The instrument will now show the Run Time Screen.
- Check the Run time Screen for Protocol no., The Step No., The elapsed sampling time for the particular step, actual RPM of stirrer, actual bath temperature and the temperature being measured by the external probe.
- The RUN LED on the Front Panel will glow indicating the Instrument RUN Condition.
- Check that paddle/basket are properly lowered, if instrument will prompt an error screen as lift is not at lower position and hence the test cannot start.
- Check that temperature is reached at set temperature, If instrument will prompt an error screen.
- Stating the temperature has not yet reached and hence the test cannot start.
- Auto sampler setting:
- Press the OPTN key from the front panel of the instrument. The setting Screen for configure system, set protocol and Bath setup shall be displayed.
- By using F1 or F2 key select configure system, press enter.
- Select Auto sampler and press enter, connected by using F1 key.
- Select sampling mode offline by using F2 key and press enter.
- Select Manifold motorized by using F1 key
- Select jar probes by using Scroll UP or DOWN
- After test temperature controller on by using F1 key and press enter and then press ESC by using F2 key
- Select Set Protocol by using F1 or F2 key and press enter and select the Parameters Sample volume press enter and select Rinse Volume and Sample volume.
- Replenishment Yes if required by using F1 key, No if not required by using F2 Key and press enter.
- Select bath set up by using F1 or F2 key and select Media volume or Test method by using Scroll UP or DOWN keys.
- Filters immersed Yes or No by using F1 or F2 key and press ESC.
- Halting/ Aborting test:
- To halt the running test, press the STOP key once. The test will be Halted and the Halt Time will be displayed. The HALT LED on the Front Panel will start blinking.
- Start the test by pressing F1, then the test will start from the point it has stopped and the Halt Time is not accounted. The instrument will display the Run Screen again.
- Stop the test by pressing F2 key, then the test will be aborted and the Instrument will show the idle screen.
- Power Fail Condition:
- During test running time, if the Power fails then the Power Failure screen will be displayed when the power is resumed back.
- The user can either start the test again or can stop the test by pressing the F1 or F2 key respectively.
- If the F1 key is pressed, then the test will start from the point it has stopped and the instrument will display the Run Screen again.
- Sample withdraw procedure:
- Withdraw sample from a zone midway between the surface of the dissolution medium and top of rotating basket/paddle, not less than 10mm from wall of vessel.
- Dissolution Medium Preparation:
- Prepare the dissolution medium as per specified under procedure, filter through 0.45 µm filter paper under vacuum and stirring
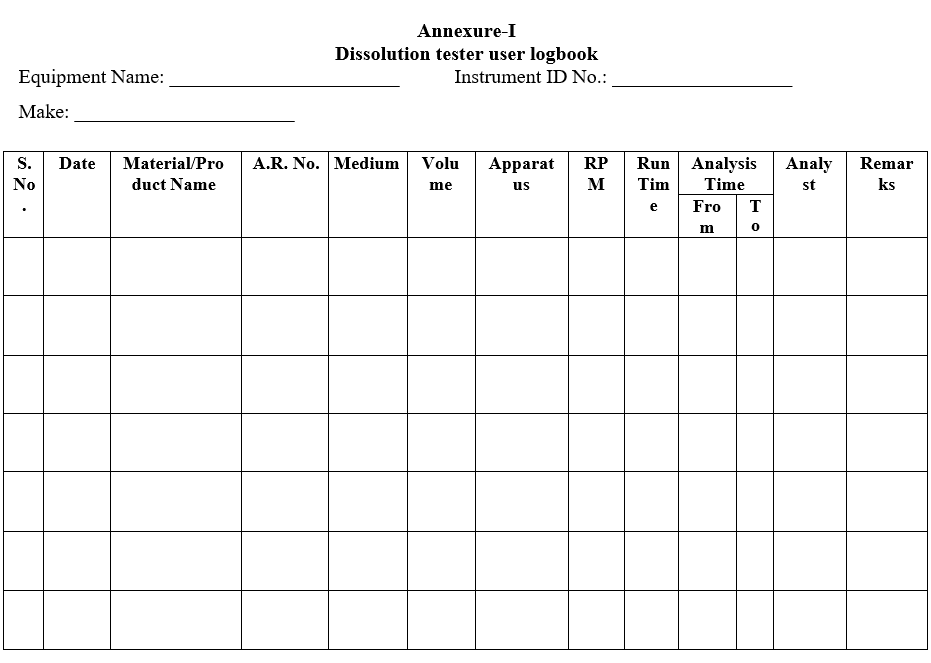
- ANNEXURES:
| ANNEXURE NO. | TITLE OF ANNEXURE |
| Annexure-I | Dissolution tester user logbook |
Annexure-I
Dissolution tester user logbook
Click the link to download word file copy of this document:
https://pharmaguidehub.com/product/operation-of-dissolution-test-apparatus-make-electro-lab-model-tdt-08l/